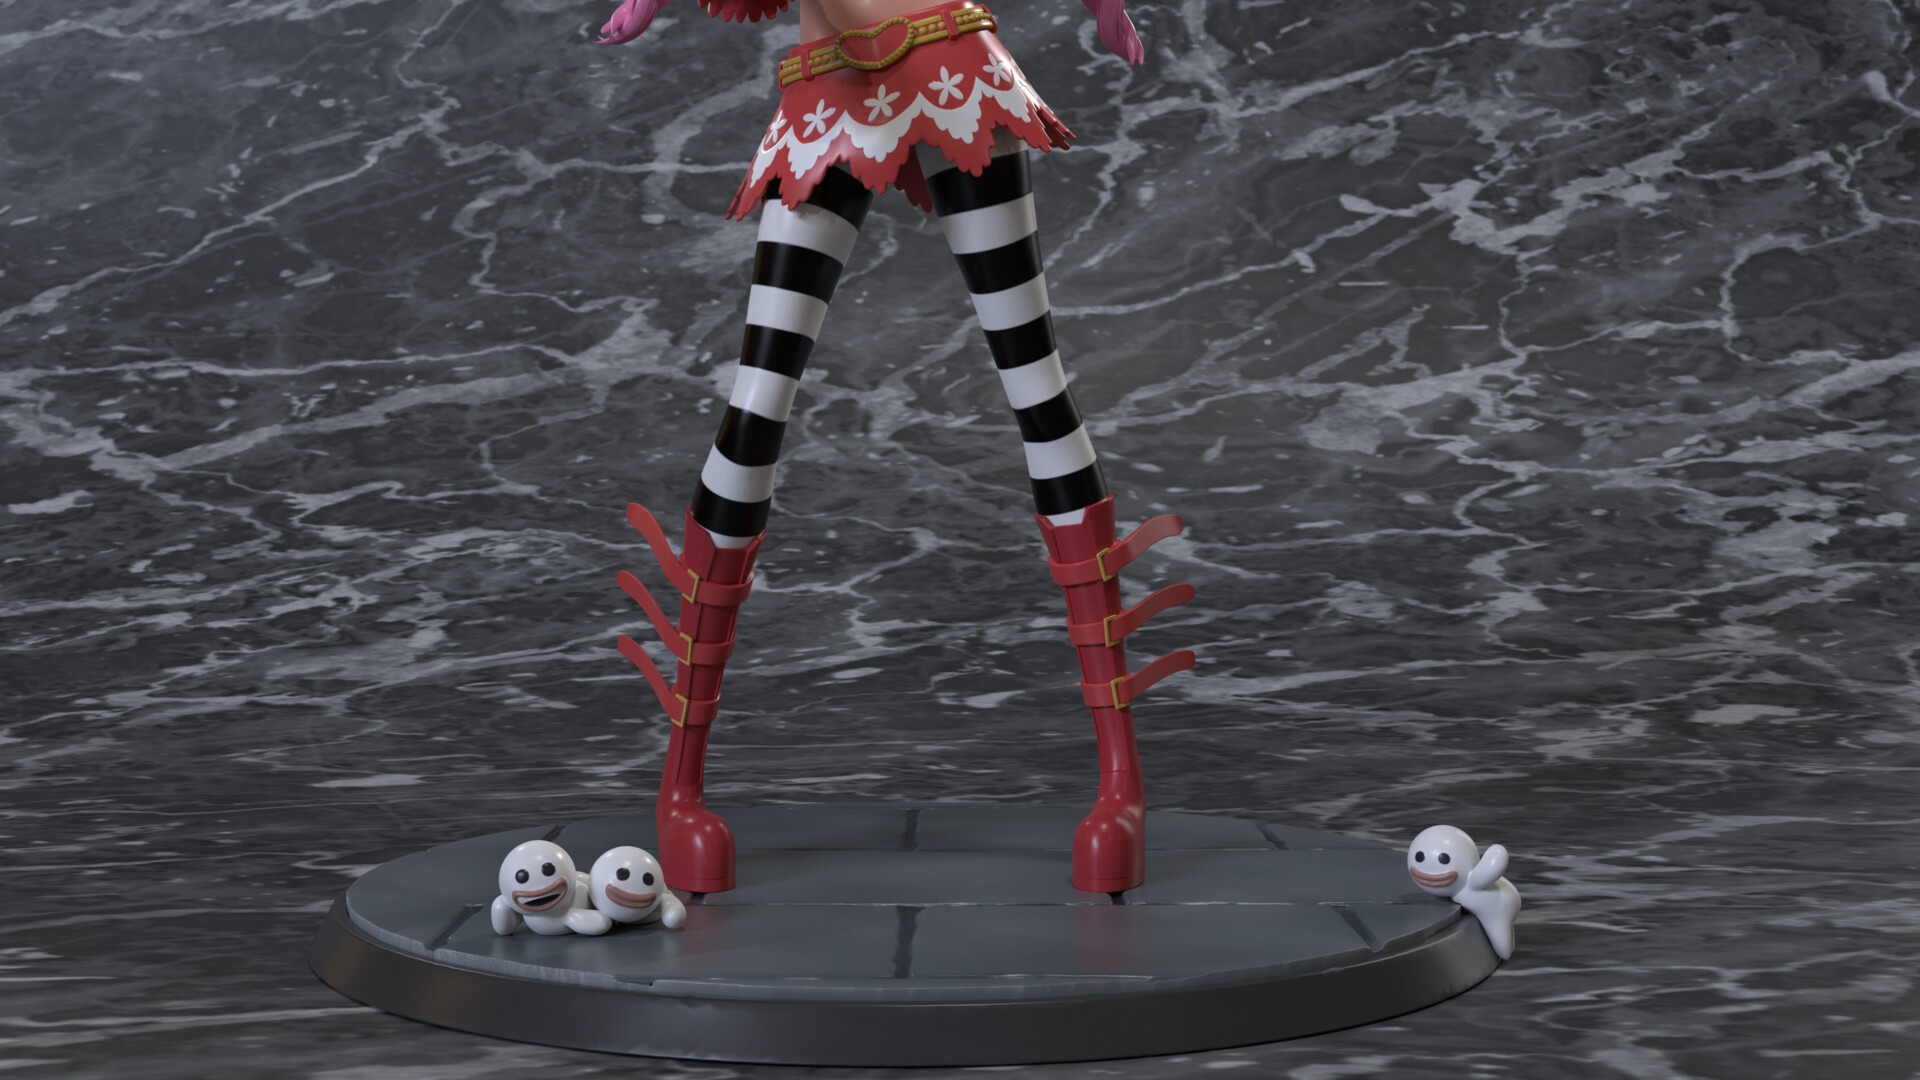
Perona Ghost Rap Pose Figure - One Piece
While working on this Perona figure, I developed my skills in creating UVs in order to put a perfectly aligned shirt on Perona's top. After simple topology for the top, I created the UV, flattened, and was able to create the design in Photoshop and apply it as the texture for the shirt. I also tried the method of using ZBrush's spotlight feature to project the image onto the chest. Since the final medium is to be 3D printed, I used the design as a mask via polypaint and was able to inflate the design so it can be more visible to paint after printing. Topology and organization played a huge role, as I considered the structure and assembly of the figure.

The line up of figures that I created for Perona. 1/6th scale (Left), 1/3rd scale head figure (middle), and a 1/3rd scale version of the figure (right)


The 1/3rd scale head figure next to the 1/6th scale full figure.